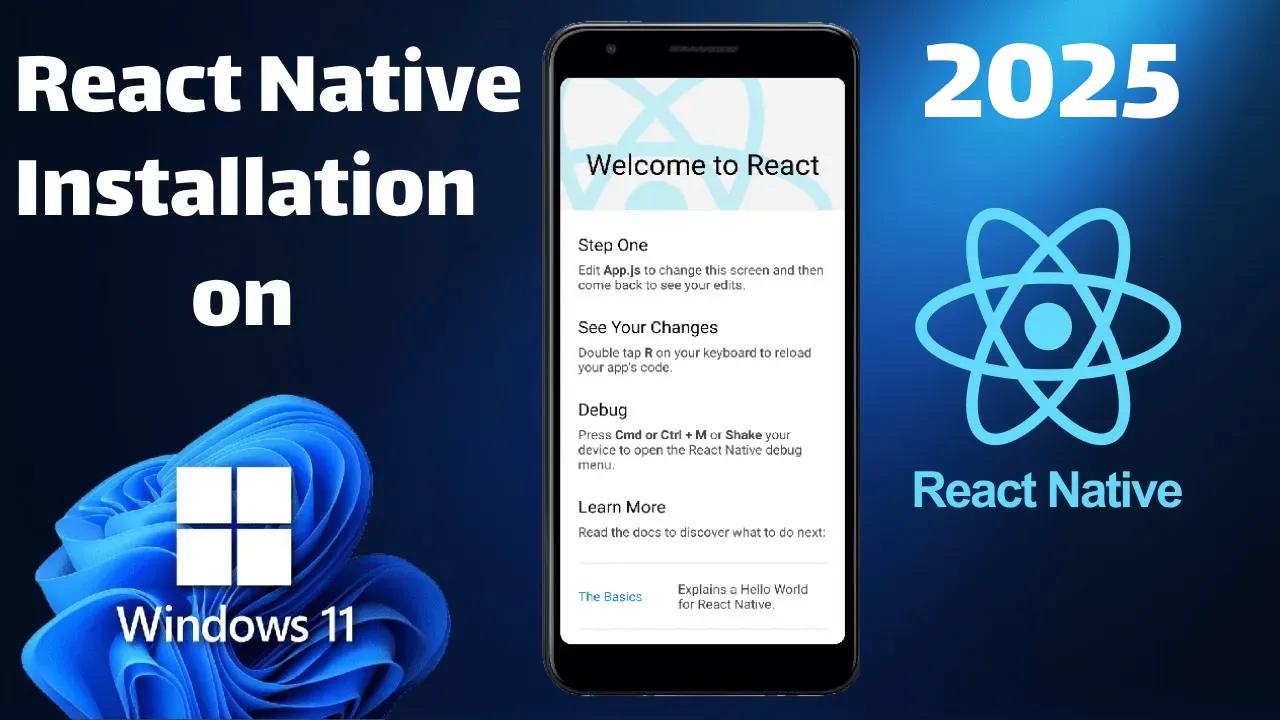
casper's Profile Image

Full Stack Web/Mobile Developer

Jan, 31, 2025

React Native Windows Setup 2025

Let's set up an environment to build great react native apps on windows 11.

React Native Windows Setup 2025 Image

You can also watch the YouTube video:

React Native Windows Setup 2025

Installing dependencies

You will need Node, the React Native command line interface, a JDK, and Android Studio.

While you can use any editor of your choice to develop your app, you will need to install Android Studio in order to set up the necessary tooling to build your React Native app for Android.

Installing Chocolatey to install required dependencies

  1. Run "Windows PowerShell" as administrator.

  2. Paste the code below and press enter

Set-ExecutionPolicy Bypass -Scope Process -Force; [System.Net.ServicePointManager]::SecurityProtocol = [System.Net.ServicePointManager]::SecurityProtocol -bor 3072; iex ((New-Object System.Net.WebClient).DownloadString('https://community.chocolatey.org/install.ps1'))
  1. Wait a few seconds for the command to complete.

  2. If you don't see any errors, you are ready to use Chocolatey! Type choco or choco -?

Node, JDK

Note: If you have installed Node.js before, you can remove the nodejs-lts part.

choco install -y nodejs-lts microsoft-openjdk17

Note: If you have already installed Node on your system, make sure it is Node 18 or newer. If you already have a JDK on your system, we recommend JDK17. You may encounter problems using higher JDK versions.

Android development environment

Setting up your development environment can be somewhat tedious if you're new to Android development. If you're already familiar with Android development, there are a few things you may need to configure. In either case, please make sure to carefully follow the next few steps.

1. Install Android Studio

Download and install Android Studio. While on Android Studio installation wizard, make sure the boxes next to all of the following items are checked:

  • Android SDK
  • Android SDK Platform
  • Android Virtual Device
  • If you are not already using Hyper-V: Performance (Intel ® HAXM)

Then, click "Next" to install all of these components.

Once setup has finalized and you're presented with the Welcome screen, proceed to the next step.

2. Install the Android SDK

Android Studio installs the latest Android SDK by default. Building a React Native app with native code, however, requires the Android 15 (VanillaIceCream) SDK in particular. Additional Android SDKs can be installed through the SDK Manager in Android Studio.

To do that, open Android Studio, click on "More Actions" button and select "SDK Manager".

Welcome to Android Studio

Note: The SDK Manager can also be found within the Android Studio "Settings" dialog, under Languages & Frameworks → Android SDK.

Select the "SDK Platforms" tab from within the SDK Manager, then check the box next to "Show Package Details" in the bottom right corner. Look for and expand the Android 15 (VanillaIceCream) entry, then make sure the following items are checked:

  • Android SDK Platform 35

  • Intel x86 Atom_64 System Image or Google APIs Intel x86 Atom System Image

Next, select the "SDK Tools" tab and check the box next to "Show Package Details" here as well. Look for and expand the Android SDK Build-Tools entry, then make sure that 35.0.0 is selected.

Finally, click "Apply" to download and install the Android SDK and related build tools.

3. Configure the ANDROID_HOME environment variable

The React Native tools require some environment variables to be set up in order to build apps with native code.

  1. Open the Windows Control Panel.

  2. Click on User Accounts, then click User Accounts again

  3. Click on Change my environment variables

  4. Click on New... to create a new ANDROID_HOME user variable that points to the path to your Android SDK:

The SDK is installed, by default, at the following location:

%LOCALAPPDATA%\Android\Sdk

Note: You can find the actual location of the SDK in the Android Studio "Settings" dialog, under Languages & FrameworksAndroid SDK.

Open a new Command Prompt window to ensure the new environment variable is loaded before proceeding to the next step.

  1. Open powershell

  2. Copy and paste Get-ChildItem -Path Env:\ into powershell

  3. Verify ANDROID_HOME has been added

4. Add platform-tools to Path

  1. Open the Windows Control Panel.

  2. Click on User Accounts, then click User Accounts again

  3. Click on Change my environment variables

  4. Select the Path variable.

  5. Click Edit.

  6. Click New and add the path to platform-tools to the list.

The default location for this folder is:

%LOCALAPPDATA%\Android\Sdk\platform-tools

Using a virtual device to run our app

Open AVD Manager, Select "Create Virtual Device...", then pick any Phone from the list and click "Next", then select the VanillaIceCream API Level 35 image.

Creating our first app

npx @react-native-community/cli@latest init AwesomeProject
cd AwesomeProject && code .
npm start
npm run android

Note: You can open your project manually if the "code ." command doesn't work.

Source:

https://reactnative.dev/docs/set-up-your-environment

0
0

Comments (0)